React.js
[React.js] 실습1. 간단한 정보기입 폼
mm_스터디
2024. 6. 9. 09:47
728x90
지금까지 배운 걸로 간단하게 정보기입 폼 만들기
나는 이름, 생년월일, 국적, 성별선택, 가입하게 된 계기를 넣을 예정이다
useState 사용할 예정
우선

메인페이지 App.js에 Information 인 컴포넌트 추가
Information 파일 연결해서 연결 끝!
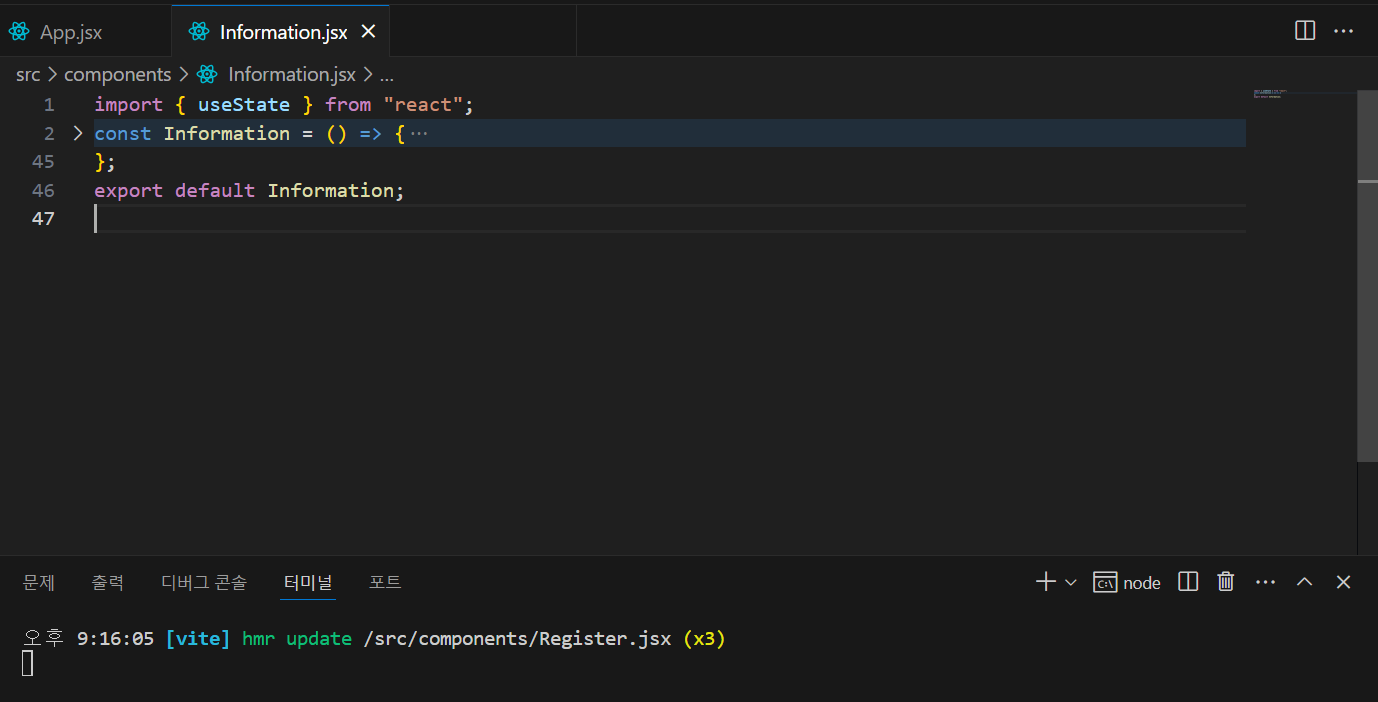
Information.jsx는 useState 연결,
export로 컴포넌트 내보내기 완료!
이젠 이름, 생년월일, 국적, 성별선택, 가입하게 된 이유를 받을 변수와 state함수, 폼 생성하자
const [name, setName] = useState("이름");
const [birth, setBirth] = useState("YYYY-MM-DD");
const [country, setCountry] = useState("국적");
const [gender, setGender] = useState("성별")
const [reson, setReson] = useState("이유");
이제 이를 이용할 함수와 태그 만들기
이름은 input - type요소
생년월일은 input - date 요소
국적은 selcet
성별은 input - radio요소
이유는 textarea 사용
일단은 DB를 이용하는 것이 아니라 값이 실제로 저장되지는 않는다
그래서 html 태그 인풋요소를 이용해서 입력되는 값을 이용할 것이라서 onChane 함수를 이용
const onChangeName = (e) => {
setName(e.target.value);
};
const onChangeBirth = (e) => {
setBirth(e.target.value);
};
const onChangeCountry = (e) => {
setCountry(e.target.value);
};
const onChangeGender = (e) => {
setGender(e.target.value);
};
const onChangereson = (e) => {
setReson(e.target.value);
};
함수설정까지 완료
이젠 실제 태그를 이용해서 홈페이지에 나타내보자
return (
<div>
<div>
<p>이름</p>
<input value={name} onChange={onChangeName} placeholder={"이름"} />
{name}
</div>
<div>
<p>생년월일</p>
<input value={birth} onChange={onChangeBirth} type="date" />
{birth}
</div>
<div>
<p>국적</p>
<select value={country} onChange={onChangeCountry}>
<option value=""></option>
<option value="kr">한국</option>
<option value="us">미국</option>
<option value="uk">영국</option>
<option value="jp">일본</option>
</select>
{country}
</div>
<div>
<p>성별</p>
<input type="radio" onChange={onChangeGender} name="gender" value="m" />
남성
<input type="radio" onChange={onChangeGender} name="gender" value="f" />
여성
{gender}
</div>
<div>
<p>가입이유</p>
<textarea
value={reson}
placeholder="가입하게된 이유를 적어주세요"
onChange={onChangereson}
></textarea>
</div>
</div>
);
placeholder를 이용해서 입력하기 전에 무슨 내용을 입력해야하는지 안내하였고
value를 이용해 실제 볼 수 있는 값은 간단하게 나타냈다

결과물 짜잔
728x90